Artleon is a renowned brand in the furniture industry, known for its high-quality products that combine both style and functionality. If you’re looking to update the look of your dining room or replace a damaged back, changing the back of a dining chair can seem like a daunting task. However, with this guide by Artleon, you can complete the process effectively and efficiently.
Step 1: Choose the Right Chair Back
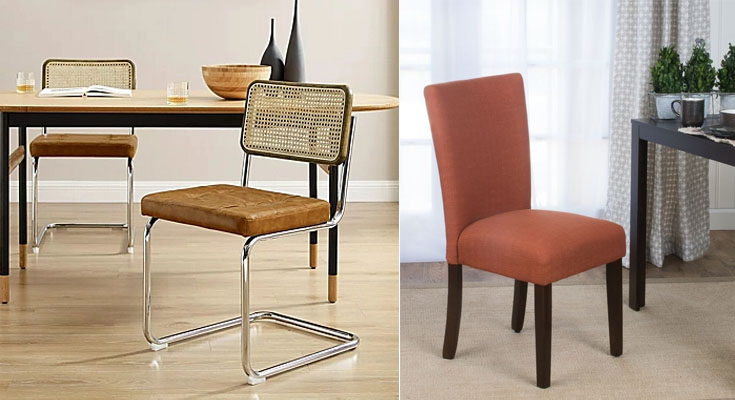
The first step in changing the back of a dining chair is choosing the right chair back. Artleon offers a wide range of chair backs, including traditional, modern, and contemporary styles in various materials such as wood, metal, and upholstered fabric. Consider the overall aesthetic of your dining space and choose a chair back that will complement your decor.
How to change the back of the dining chair? : When selecting a new chair back, keep in mind the height and width of your dining chairs. You don’t want to choose a back that is too tall or too wide for your chairs. Additionally, if you’re planning to replace the backs on all your dining chairs, make sure to order enough chair backs to complete the project.
Step 2: Remove the Old Back
Once you’ve selected your new chair back, it’s time to remove the old one. Turn the chair upside down and locate the screws or bolts that hold the back in place. Use a screwdriver or wrench to remove these fasteners, being careful not to strip or damage the threads.
If the screws or bolts are rusted or stuck, you may need to apply a penetrating oil to loosen them. Allow the oil to soak in for several minutes before attempting to remove the fasteners.
Step 3: Install the New Back
After removing the old back, it’s time to install the new one. Align the holes in the new back with the holes in the chair frame, and then insert the screws or bolts into the holes. Tighten them securely and check that the back is level and stable before moving on to the next step.
If you’re using an upholstered chair back, you may need to stretch the fabric over the back and staple it in place. Use a staple gun and staples to attach the fabric securely. Trim any excess fabric with scissors.
Step 4: Add Finishing Touches
Once the new back is securely in place, you may want to add some finishing touches. If you’ve chosen an upholstered back, you can add a layer of batting or foam to provide additional cushioning. You can also add decorative elements such as buttons or piping to enhance the overall look of the chair.
If you’re using a wood or metal chair back, you may want to apply a coat of paint or stain to match the rest of the chair. Use a paintbrush or spray paint to apply the finish evenly. Allow the paint or stain to dry completely before using the chair.
Step 5: Enjoy Your New Chair
Congratulations, you have successfully changed the back of your dining chair! Take a step back and admire your handiwork. With the right tools and materials, changing the back of a dining chair is a simple and satisfying DIY project. Now you can enjoy a comfortable and stylish new chair in your dining room.
In conclusion, changing the back of a dining chair is a simple process that can be completed with the right tools and materials. Artleon offers a wide range of chair backs to choose from, ensuring you can find the perfect style and material to suit your needs. By following these steps, you can transform the look of your dining room and enjoy a comfortable and stylish new chair.