Leaky faucets not only waste water but can also lead to potential water damage if left unaddressed. Learning how to fix a leaky faucet and taking preventive measures can save you money on water bills and costly repairs. This DIY guide provides step-by-step instructions for fixing leaky faucets and tips for preventing water damage in your home.
Fixing a Leaky Faucet
Tools and Materials:
- Adjustable wrench
- Screwdriver
- Replacement washers and O-rings (if necessary)
- Pipe thread sealant or plumber’s tape
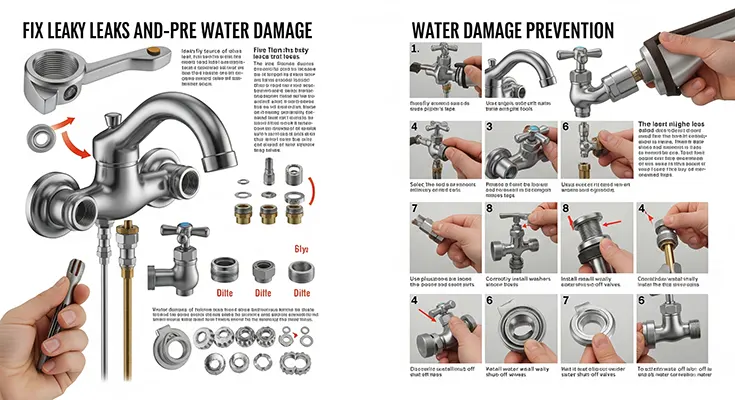
Step 1: Turn Off the Water
Locate the shut-off valve under the sink and turn off the water supply to the faucet to prevent any water leakage during the repair.
Step 2: Disassemble the Faucet
Use the screwdriver and wrench to carefully disassemble the faucet, removing the handle and the valve stem assembly to access the internal components.
Step 3: Replace Washers and O-rings
Inspect the washers and O-rings for any signs of wear, tear, or damage. If necessary, replace the old washers and O-rings with new ones to create a watertight seal.
Step 4: Apply Pipe Thread Sealant or Plumber’s Tape
If the leak persists after replacing the washers and O-rings, apply pipe thread sealant or plumber’s tape to the valve stem threads during reassembly to ensure a secure and leak-free connection.
Step 5: Reassemble the Faucet
Carefully reassemble the faucet, ensuring that all components are properly aligned and tightened. Turn on the water supply to check for any remaining leaks and make further adjustments if needed.
Preventing Water Damage
Install Leak Detection Devices
Consider installing water leak detection devices near sinks, toilets, and appliances to detect and alert you to potential water leaks or pipe bursts in their early stages.
Regularly Inspect and Maintain Plumbing
Inspect plumbing fixtures, pipes, and connections for any signs of leaks, corrosion, or damage. Address any issues promptly to prevent water damage and costly repairs.
Caulk and Seal Around Fixtures
Use caulk or sealant to create a watertight seal around sinks, bathtubs, and showers to prevent water from seeping into the surrounding areas and causing damage.
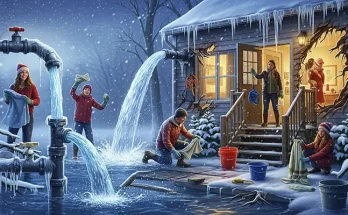
Properly Insulate Pipes
Insulate exposed pipes in cold areas of your home to prevent them from freezing and potentially bursting, which can lead to significant water damage.
Monitor Water Pressure
Keep track of water pressure in your home and install a pressure regulator if necessary to prevent excessive pressure that can lead to leaks and pipe damage.
By following this DIY guide to fixing leaky faucets and implementing preventive measures, you can effectively address water leaks, prevent potential water damage, and maintain a water-efficient and secure home environment. Remember that if you encounter complex plumbing issues or are unsure about performing any repairs, it’s best to seek professional help to ensure the safety and integrity of your home’s plumbing system. With proactive maintenance and timely repairs, you can safeguard your home from water damage and promote sustainable water conservation practices.


